By Robert Bunch
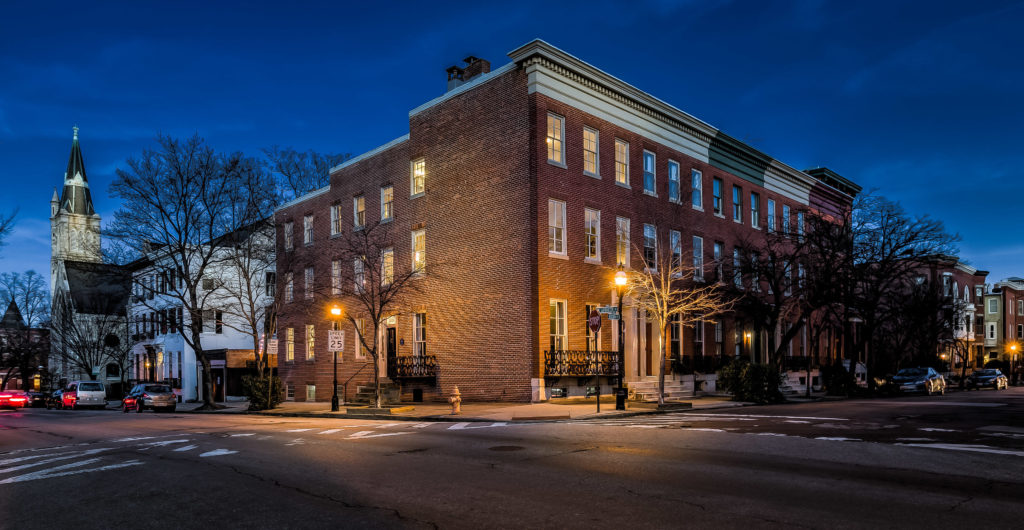
Anne Marie and I bought the residence known as the Mathias House (221 W. Lafayette) in September 2012. We knew it was going to be the biggest restoration project we had ever undertaken. But when Hurricane Sandy rolled into town in late October that year, we realized the gravity of our decision. The previous owners, Trail and Natasha, had owned the house for fifty years, and while originality thrived, maintenance did not. The storm brought down three ceilings; streams of water ran down the hallways and all thirty-three windows leaked like sieves.
It took me two and a half years to restore the house. Then it was time to turn to the windows.
The local preservation organization Baltimore Heritage advertised a training course on historic window restoration run by a chap named Duffy Hoffman down at Second Chance. I took the course, asked lots of questions, and thought, “Wow, that’s a huge amount of work – time to call in the professionals.” Sadly, the cost of having the windows professionally restored was high enough to make a Scotsman blush, so it was up to me to get stuck in.
It took me another two and a half years to restore the windows.
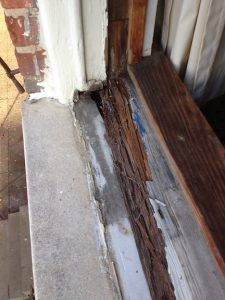
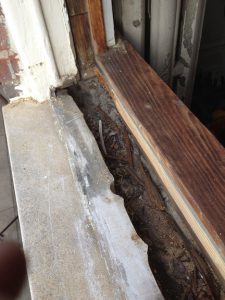
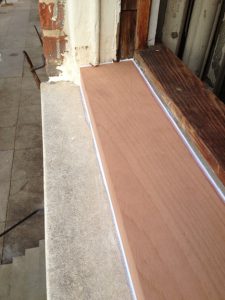
I realized that most of the water ingress had come from rotten windowsills. In fact, twenty-two of the thirty-three windows in the house were completely rotten and needed to be replaced. But where to start?
Having never replaced a sill in my life, I searched YouTube and found several videos that used a similar replacement technique. I measured all the sills and had rough versions cut from Spanish cedar (which doesn’t rot) by two different Baltimore woodshops. Then it was out with the circular saw and crack on. I got quite efficient as I went from sill to sill. At peak efficiency, I even managed to replace four in one day.
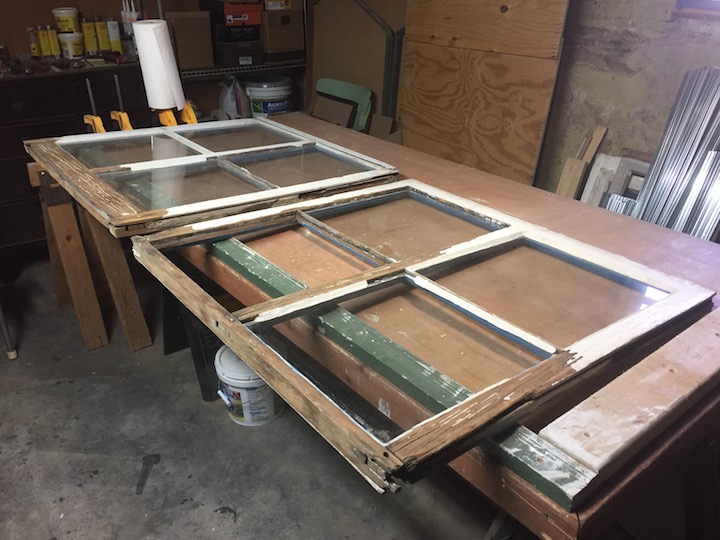
I received a Historic Tax Credit Grant from the Maryland Historical Trust, which meant that all my work on the windows, as well as the main house, had to be restorative and approved. I started at the top of the house and methodically removed two windows (four sashes) at a time. That was the easy part.
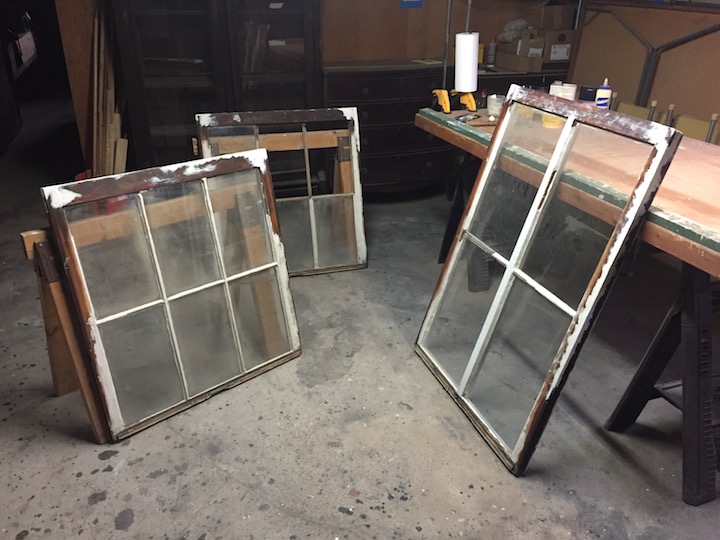
In almost every case, the bottom rail of the upper and lower sashes were rotten. To restore them, the windows required partial and sometimes full deglazing. Then came the hazmat suit, the facemask and the removal of the lead paint back to bare wood. I then used Abatron’s system of epoxy wood consolidation and epoxy putty to permanently repair the rotten and missing sections. Priming, re-glazing, and two topcoats of exterior and interior paint followed.
While all this work was happening in the basement, I was concurrently restoring the window frames by risking life and limb leaning out of the window openings to sand, repair and repaint the frames before the restored sashes could be refitted.
The most important part of the restoration was the weather-stripping. There is no point having nice windows if the winds and chills blow into the house around the sides. After the sashes were epoxied and before priming, I routed slots in three sides. The two vertical slots would accommodate a metal weather strip and act as a runner and draft barrier, and the top and bottom slot would allow for a silicon bead to be inserted to seal against the windowsill or the top of the frame. In almost every case I had to custom make parting beads (the long strips of timber that divide the sashes), as you can’t buy them and they almost always break in two when you remove them.
It took an entire day to refit two windows, putting in the four fully restored sashes and replacing the chains and fixing the counterbalances as I went. But once they were in place they looked beautiful.
Restoring all thirty-three windows, sills, and frames was a labor of love, a labor of of blood, sweat, and tears. But the end result is wonderful: no drafts, lower heating and cooling bills and a very happy Scotsman.
If anyone would like advice on how they can restore their own windows I’ll happily talk them through the steps. You’ll just need to set aside a few months … or years!

